
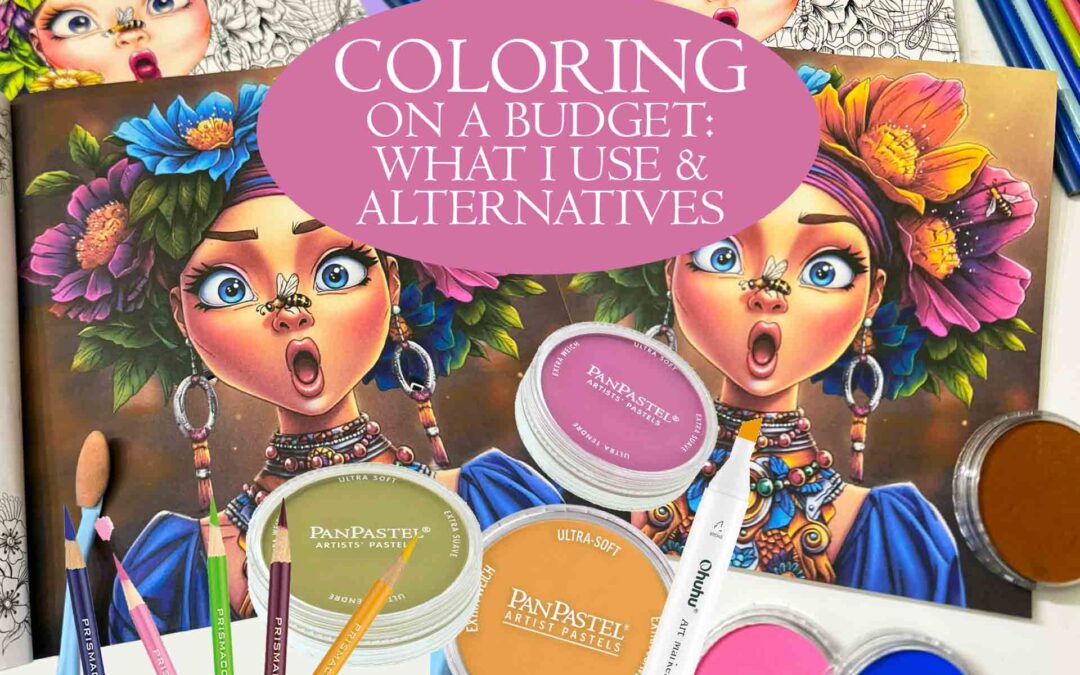
Coloring can look so expensive from the outside. Fancy sets, endless brands, specialty tools… it adds up fast.
Here’s the truth: you don’t need the most expensive supplies to create beautiful pages.
What you need is a smart “core kit” and a few techniques that make any supplies look better.
Below are my personal favorites (the ones I reach for constantly) plus budget-friendly options that can still give you gorgeous results.
The “Big 4” Supplies I Use Most
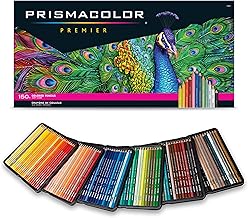
1) Colored Pencils (my forever favorite)
If you’ve been around my art for a while, you already know this one:
They’re creamy, blend beautifully, and they’re perfect for building depth and softness in whimsical pages.
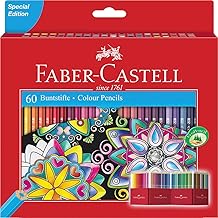
Budget-friendly alternative I recommend:
- Faber-Castell Classic Red 60 Set
My honest take: if you can only buy one pencil set and you’re serious about coloring long-term, Prismacolor is worth it. But if you’re building your kit slowly, either Artistro or the Faber-Castell Classic set can absolutely get you started.
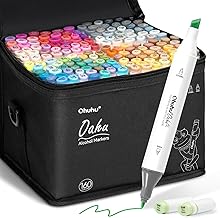
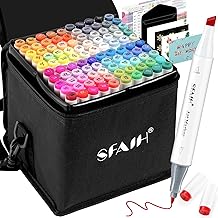
2) Alcohol Markers (for fast, smooth backgrounds)
Alcohol markers are my shortcut for backgrounds because they lay down color quickly and evenly.
- My favorites: Ohuhu
Important note for coloring books: alcohol markers are best when your book is single-sided (printed on one side only). If your book is double-sided, there’s a high chance you’ll damage the page on the back. Always protect the next page: even with single-sided books, I always slide a sheet of paper (or a blotter sheet) behind the page I’m coloring so the ink doesn’t bleed through and ruin the next page.
Budget-friendly options:
Tip that saves pages (and money): Always test on the back of a page (or a scrap sheet) first. Markers can bleed through depending on paper.
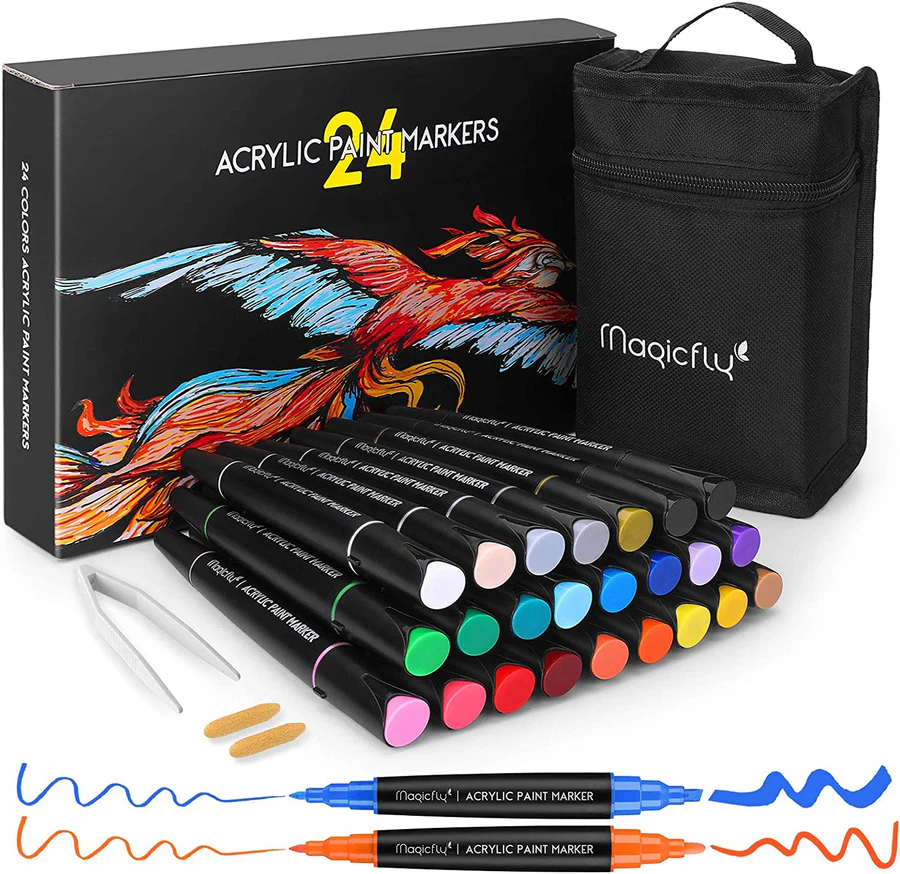
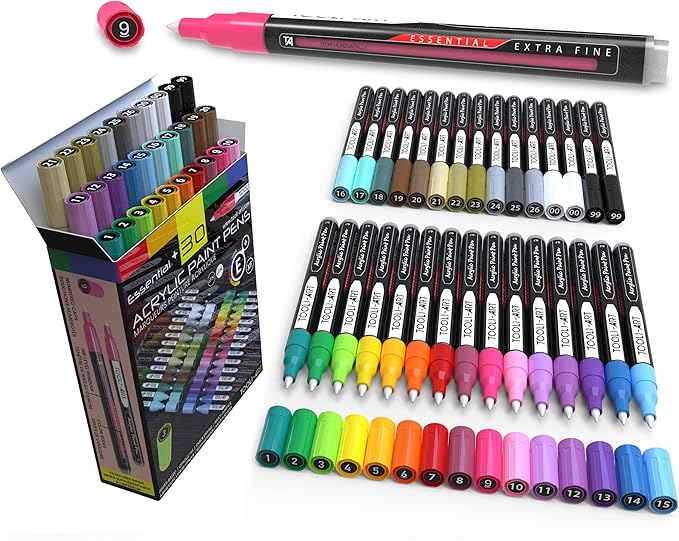
3) Acrylic markers (for bold details and fun accents)
Acrylic markers are amazing for little pops: stars, dots, highlights, patterns, and decorative borders.
The good news: these aren’t usually crazy expensive, and you don’t need a huge set to get a lot of use. Even a small pack of basic colors can go a long way.
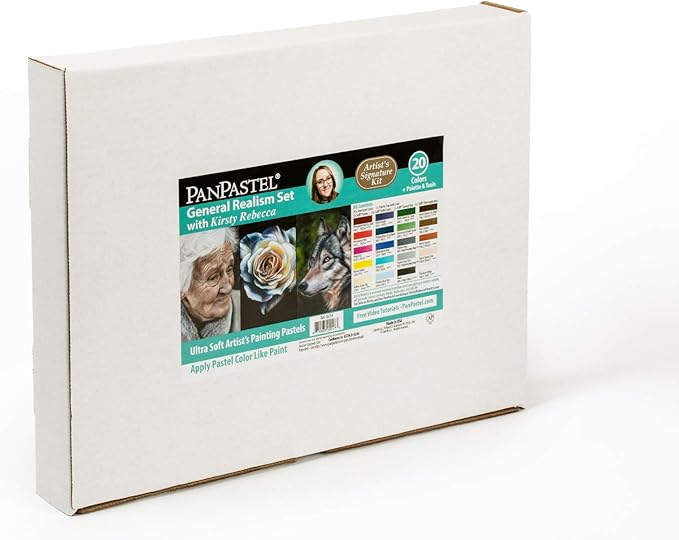
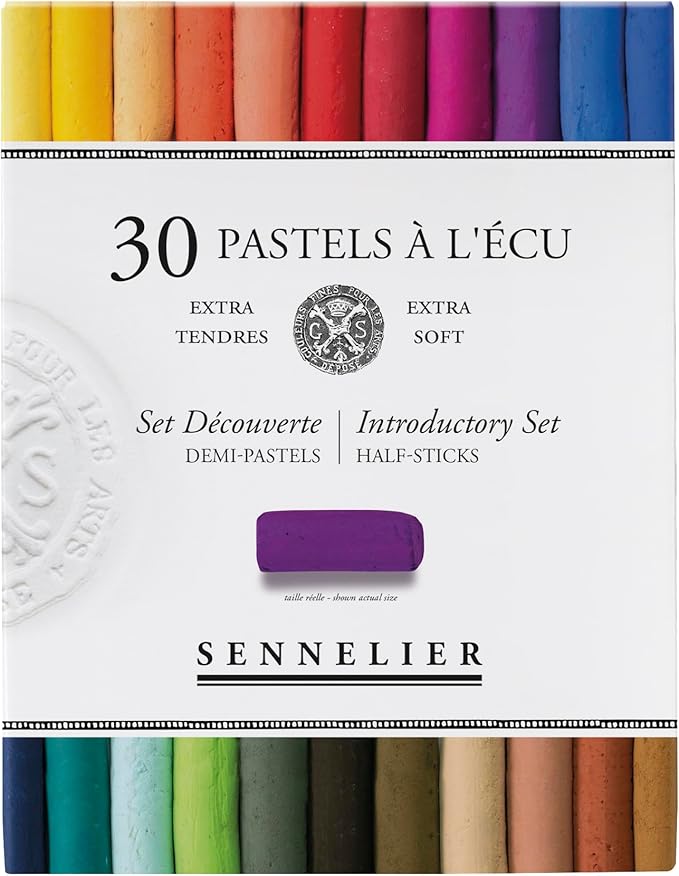
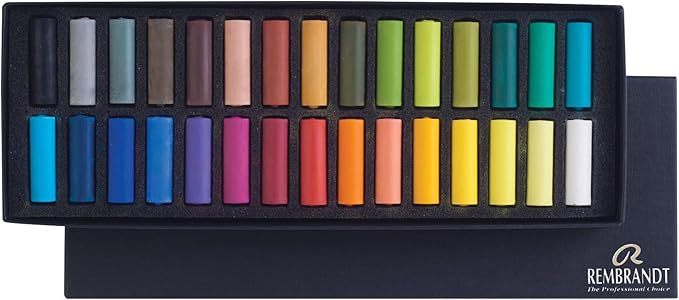
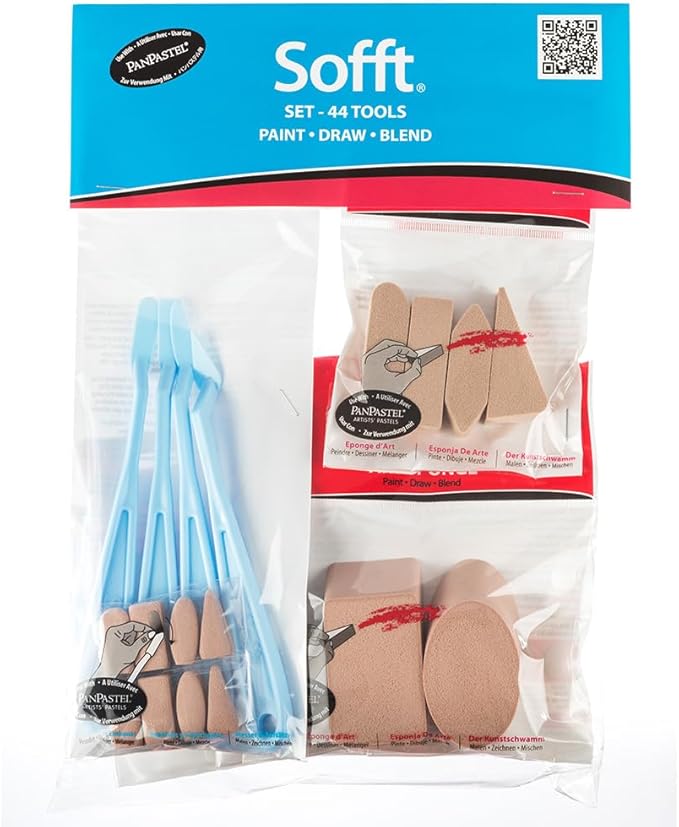
4) PanPastels (and soft pastels) for that soft, dreamy finish
This is the supply that makes people say, “Wait… how did you make it look so smooth?”
- My favorites: PanPastels
- Also love: SENNELIER Soft Pastels Half Stick Set
Yes, PanPastels can feel expensive upfront—but here’s why I still recommend them: They last forever. You use such a small amount each time that they’re more of a long-term investment than a constant repurchase.
More affordable way to start:
Tools I use for blending (highly recommended):
Don’t skip this: fixative Pastels can smudge, so a good fixative matters.
- My favorite: Krylon K01374000 Gallery Series Fixatif Aerosol Spray
- More affordable option: Krylon K01306 Workable Fixatif Spray Clear, 11-Ounce Aerosol, Matte
If you’re starting from scratch:
Buy in this order
If you’re building your kit slowly, here’s the order I’d do it:
- A solid colored pencil set (Prismacolor if possible)
- A small alcohol marker set (for backgrounds)
- A small acrylic marker set (for accents)
- Pastels + blending tools + fixative (for the dreamy finish)
Final note (because I want you to enjoy this)
Don’t let supplies become the reason you don’t start.
Start with what you have, upgrade one piece at a time, and focus on the part that matters most: the calm, the creativity, and the joy you feel while coloring.
If you try any of these budget-friendly options, I’d love to hear what you picked and how it worked for you.
If coloring is something you enjoy or want to make part of your routine, I invite you to visit my shop and explore my coloring books illustrated by me.