
Blending is one of the most important skills in coloring. It’s what takes a flat page and turns it into something soft, dimensional, and beautiful.
If you’ve ever felt like your colors look too harsh or your transitions aren’t smooth, you’re not alone. The good news is that blending is something you can improve with the right techniques — and a little patience.
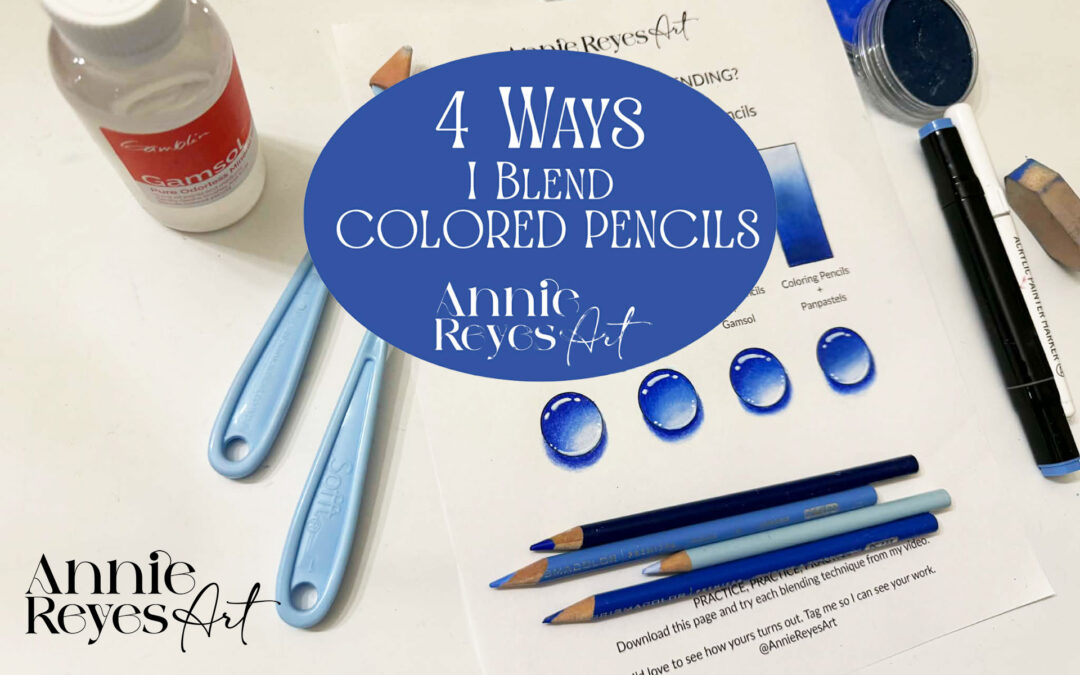
In this post, I’m sharing 4 different ways I blend with colored pencils, along with a free practice page so you can try each one yourself.
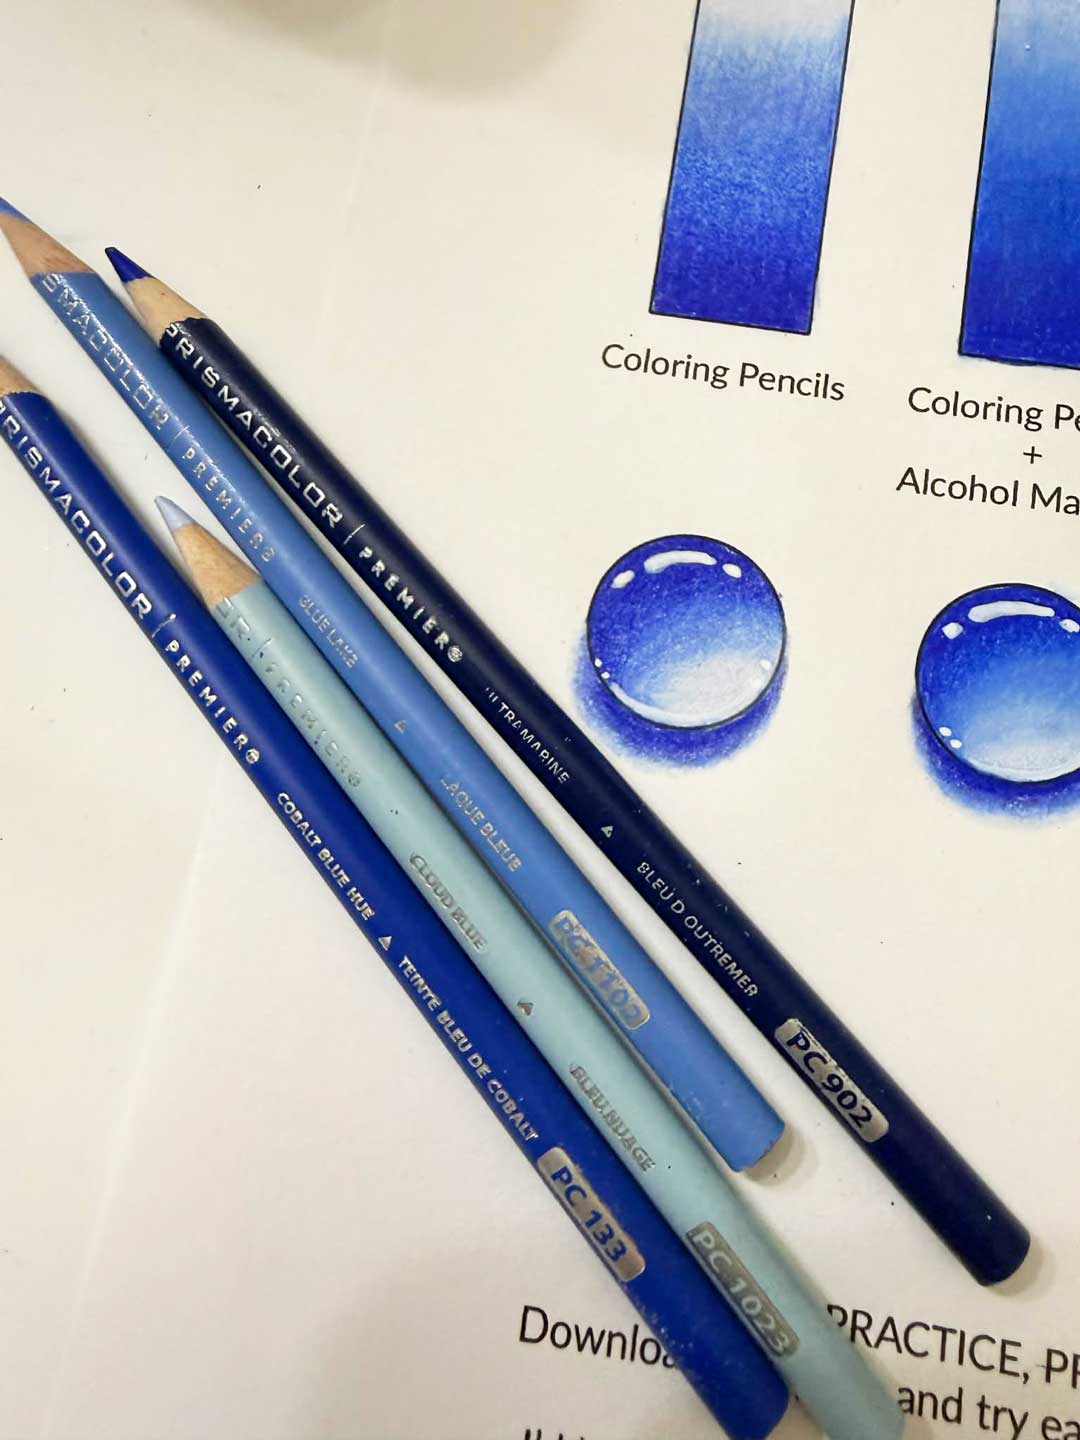
1- Blending with Colored Pencils Only
This is the most essential technique, and the foundation for everything else.
You don’t need any extra tools here, just your pencils and patience.
✨ Tip: Avoid pressing too hard too early. Smooth blending comes from soft, controlled layers.
- Start with light pressure
- Build color gradually
- Use circular motions or soft strokes
- Layer different colors to create smooth transitions
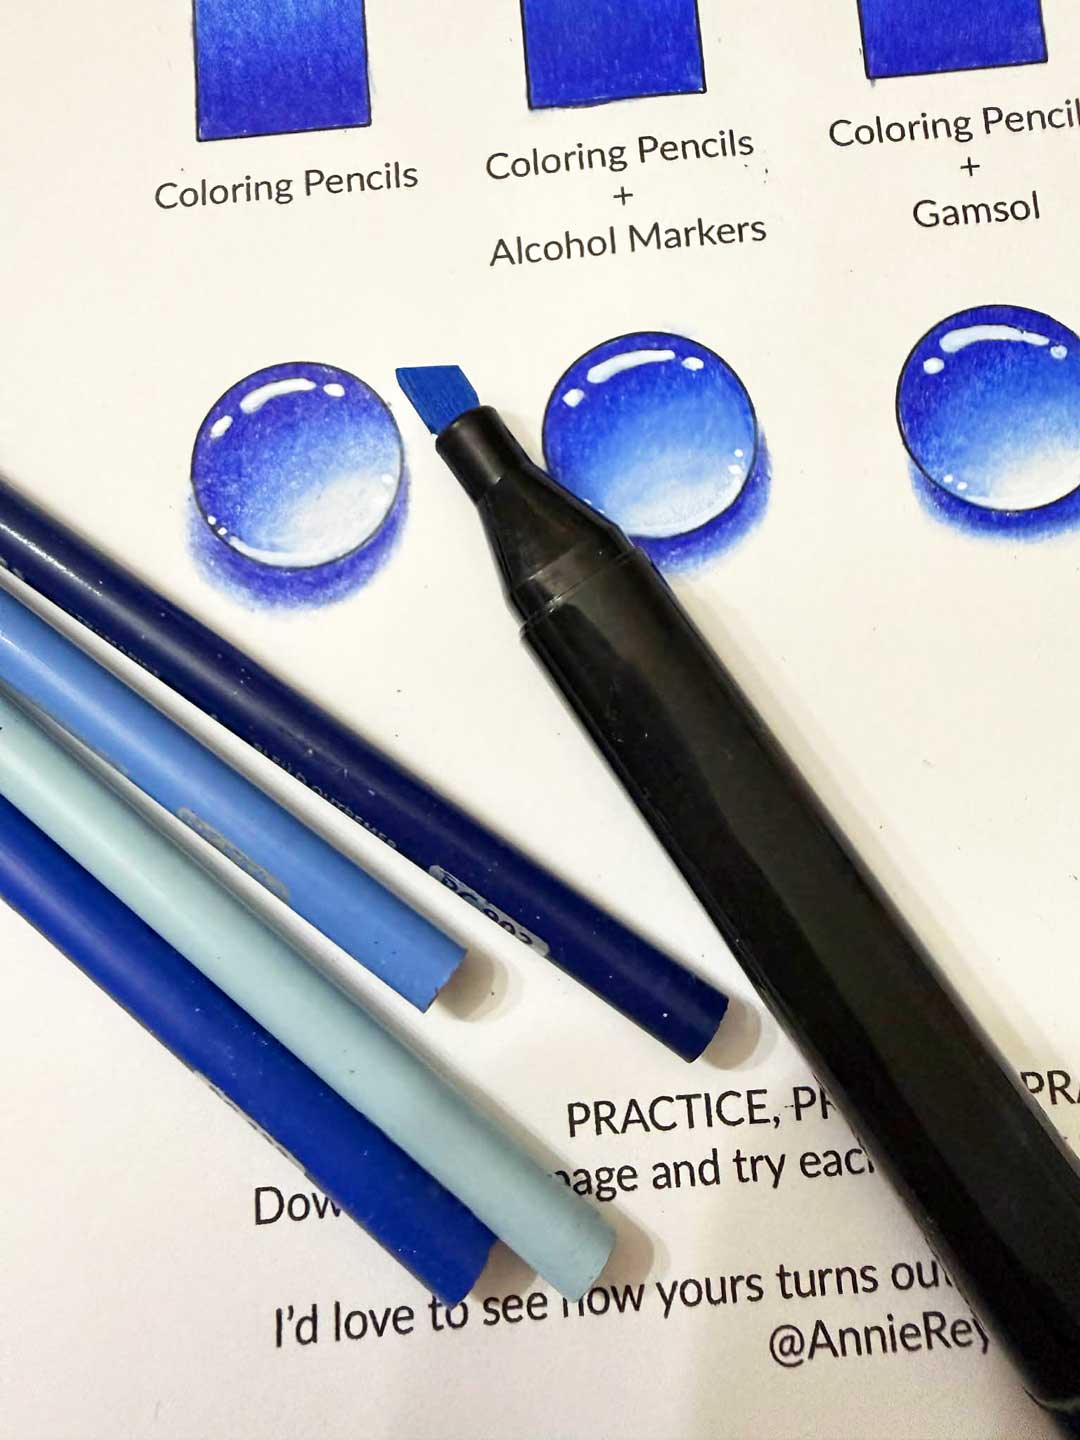
2- Blending with Colored Pencils + Alcohol Markers
This technique helps you achieve a very smooth base and speeds up the blending process.
The markers reduce the paper texture, while the pencils bring depth and control.
✨ Tip: Choose marker colors slightly lighter than your final tones so you can build dimension with pencils.
- Start with a base layer using alcohol markers
- Let it dry completely
- Add colored pencils on top for shading and details
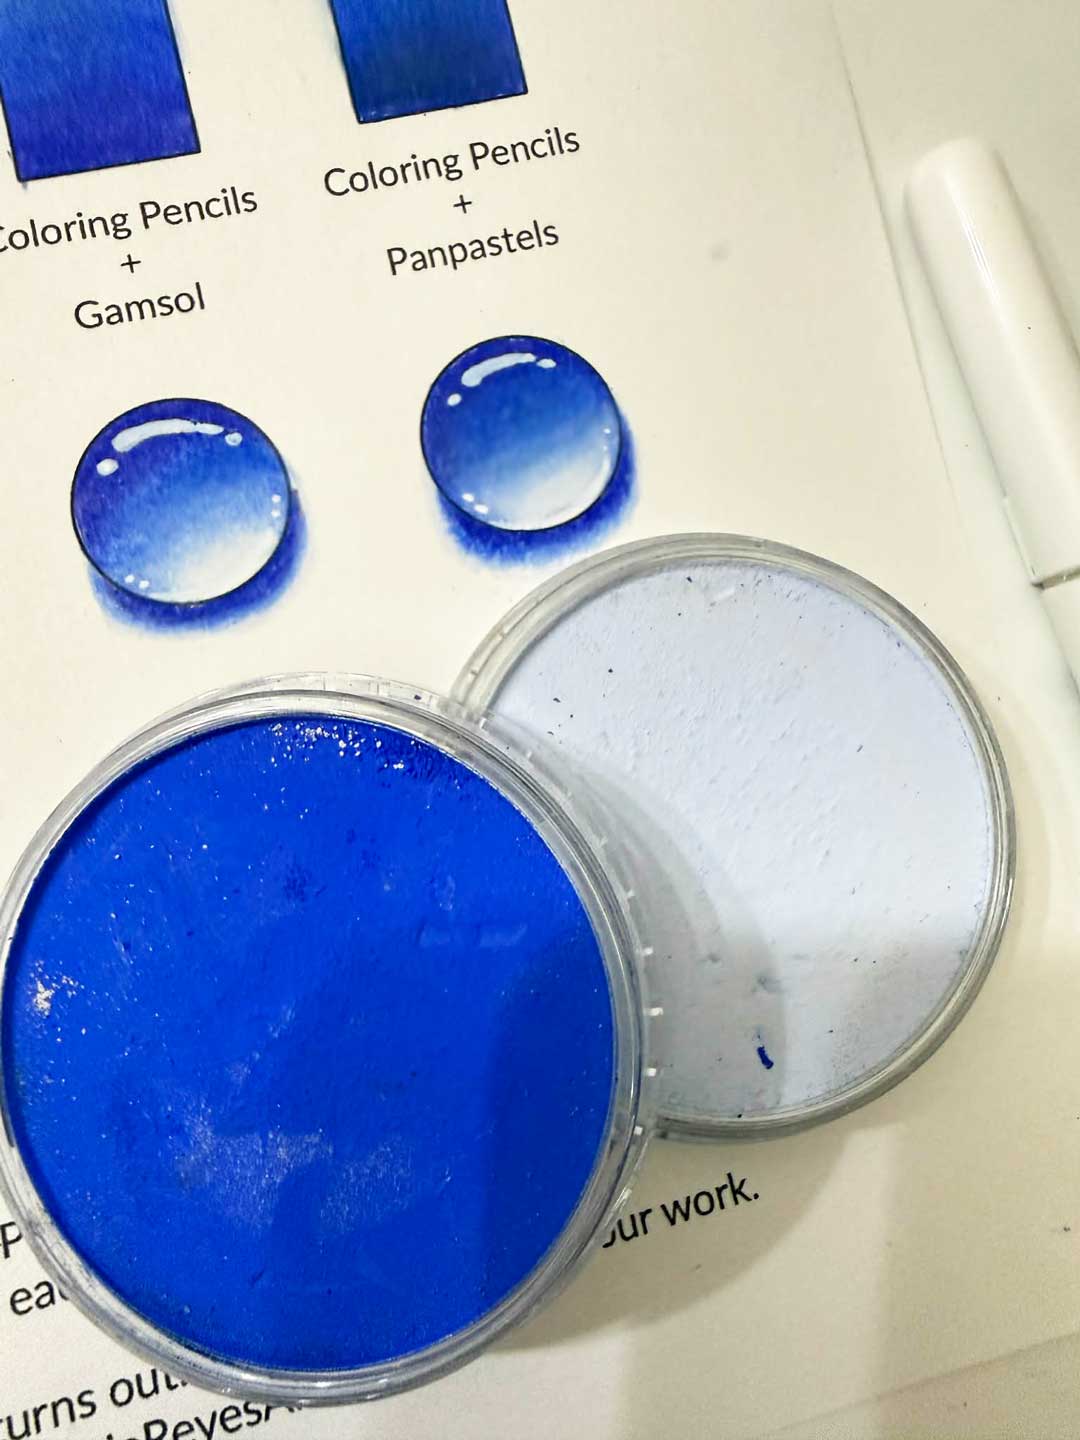
3- Blending with Colored Pencils + Gamsol
Gamsol (odorless mineral spirits) allows you to create a soft, almost painted effect.
The markers reduce the paper texture, while the pencils bring depth and control.
✨ Tip: Choose marker colors slightly lighter than your final tones so you can build dimension with pencils.

- Apply your colored pencils first
- Use a blending stump or small brush
- Lightly apply Gamsol to smooth the pigment
4- Blending with Colored Pencils + Panpastels
This is one of my favorite techniques for adding softness and a beautiful final finish.
Instead of using PanPastels as a base, I use them as a final touch to enhance the overall look.
✨ Tip: Apply PanPastels lightly, the goal is to soften, not cover your pencil work.
- First, I complete the coloring using colored pencils
- Then, I apply PanPastels on top
- This softens transitions and helps unify the colors
In the video, everything looks quite similar, but up close, techniques 2 and 4 appear much smoother.
Practice Makes the Difference
To help you apply these techniques, I created a free downloadable practice page where you can try all four methods.
Take your time with each section. There’s no right or wrong, just progress
Final Thoughts
Blending is not about perfection, it’s about learning how colors work together and enjoying the process.
The more you practice, the more natural it will feel.
And I would truly love to see what you create, feel free to share your results and tag me 💙
Keep Practicing with My Coloring Books
If you enjoyed practicing these techniques, you’ll find even more pages to explore inside my coloring books. I design each illustration with details, textures, and guided elements that make blending easier and more enjoyable as you go.
Whether you’re working on soft transitions, adding depth, or simply relaxing with color, these pages are created to help you improve while enjoying the process.
You can explore my full collection here and find the one that inspires you most